
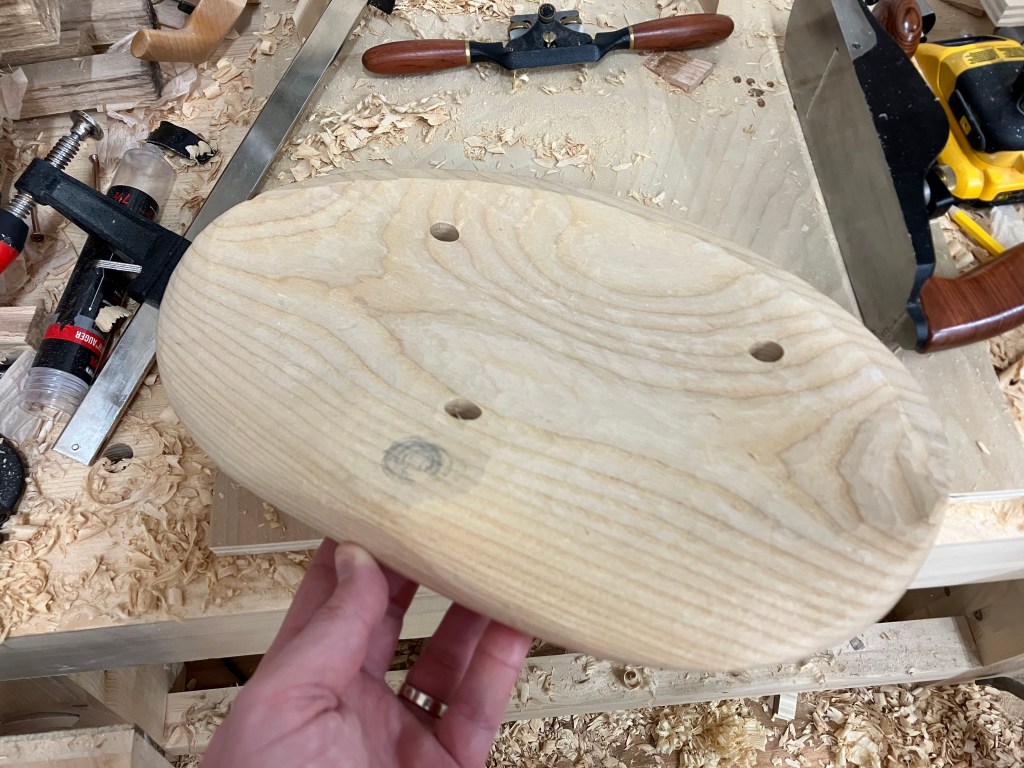
The first step for my Irish Stick Chair build is carving the seat. I’ve been hesitant to start because I’ve never carved a chair seat before, and the oak that I’m using will not be particularly easy to carve. Fortunately, I found inspiration while reading through old Chair Notes posts for another chair to build, which will help me bridge the gap.
Quite some time ago, Peter Galbert provided plans for and filmed a series of videos demonstrating the process for building a perch chair. A perch is an ergonomic chair designed to promote an active sitting posture. It has a higher seat with a slight forward tilt, putting you in a position somewhere between sitting and standing. This helps take the pressure off your spine and encourages better posture. This particular chair was designed by Peter, Galen Cranz and Curtis Buchanan.
The perch caught my eye for a couple of reasons. First, it has a small seat with simple turnings for the legs. This chair should be relatively easy to build and it will give me a chance to practice seat carving and spindle turning. Second, my sitting posture at work is awful. My office isn’t conducive to a standing desk so I’ve been on the lookout for other ways to try to improve my posture while sitting all day.
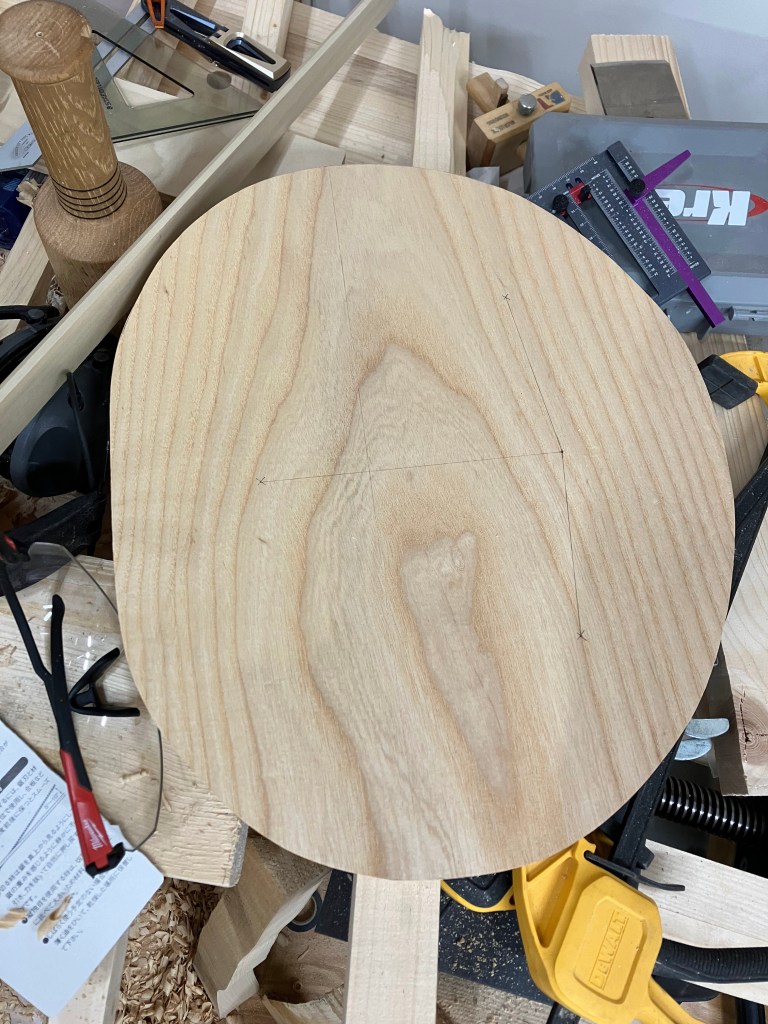
I’m going to focus on the seat because that’s the most interesting part to me. While you can glue boards together for the seat, I find that there’s plenty of wide, generally air dried, stock available on Facebook marketplace at reasonable prices. Be careful, because there’s a lot of junk too. The increased popularity of epoxy slabs has convinced everyone with a junky slab of wood that they have a gem on their hands. Elia Bizzarri wrote an evergreen blog post on American seat woods which can help direct your search. I visited a couple of sellers before I found something worth paying for—a nice slab of Catalpa for ~$6 a board foot.
Catalpa isn’t a common wood, but it fits the bill for this project. The perch seat is only 12 inches deep, so I started with a smaller slab as a test. The seller had much larger pieces, and I’ll probably head back for more if this chairmaking journey continues. It’s not a particularly attractive wood—I doubt anyone’s using it for a live-edge table—but it was easy to carve, and I didn’t have to worry about denting it like I would have with pine (which is commonly used for Windsor chair seats). The only downsides I’ve noticed so far are that it’s ring-porous, so I’ll have to fill the grain if I paint it, and that it did have a slight yeasty smell, which was a bit off-putting.
This was my first time using a scorp or a travisher—both of which were impulse buys that I probably should have researched a bit more. I won’t link them here but feel free to reach out if you want the details. I’ll share more of my thoughts below, but in short, I am on the lookout for another scorp and I’m happy with the travisher.
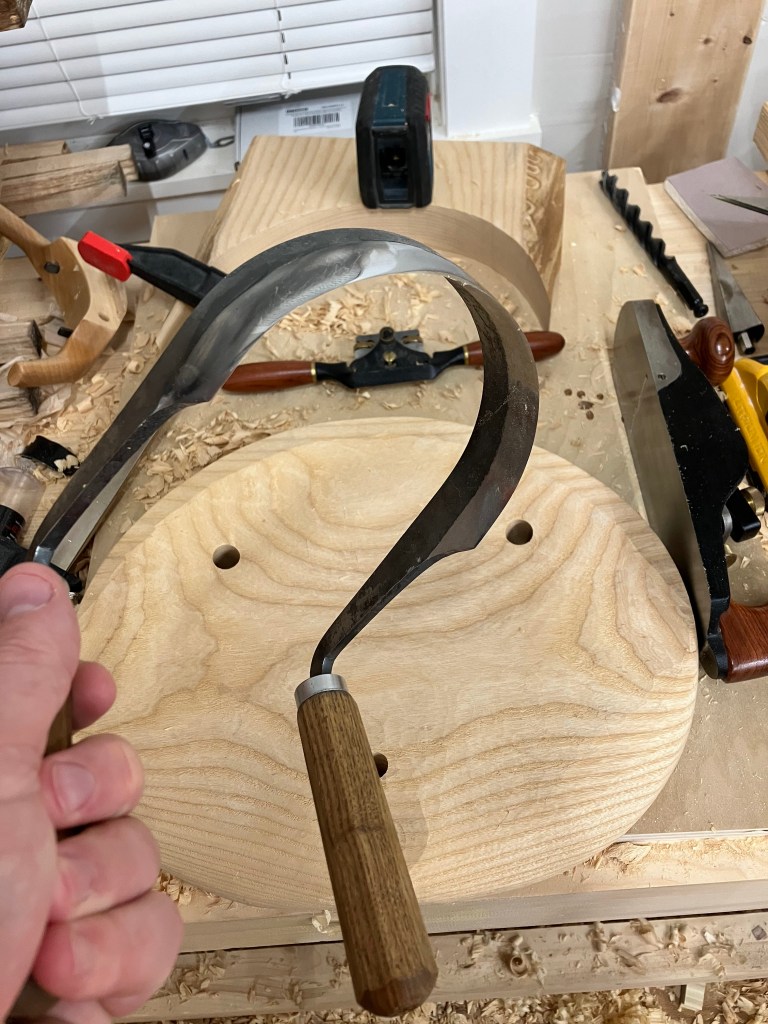

I have two main issues with the scorp—one I can mitigate, and one I can’t. The first issue is the knife-like cutting edge. Upon further research, a knife edge on a scorp isn’t very desirable. It’s difficult to hone without further rounding the edge, and the rounded shape creates a higher angle of attack, which seemed to make it harder to cut with. The second issue is the handle placement. For my use case I think they are too far from the cutting edge, which makes it uncomfortable to use at bench height. While I’m not particularly happy with the scorp, it seems like a high quality tool otherwise and the blame falls entirely on me. It was delivered as advertised but I jumped the gun and ended up with a tool that didn’t fit my needs.
My comments on the travisher are much more limited because it did exactly what it needed to do right out of the box1. Since this is my first time using one, I don’t have much to compare it to. The cutting action takes a bit of getting used to—leaning the tool back for deeper cuts and forward for lighter ones. It feels a little unnatural at first, but there’s no harm in using it the ‘wrong’ way; it just won’t cut. Once I became a little more comfortable with the travisher, it was a joy to use.
This post is already longer than I planned, so I’ll wrap it up. The legs are relatively simple, so I’m aiming for a finished surface right off of the lathe using the skew chisel. My next post should conclude the Perch build, but depending on how I decide to finish it, I might need two more to wrap things up.
- I did have to adjust the blade a little bit. ↩︎

Leave a comment