
I haven’t had much time to post over the past couple of months but that doesn’t mean I haven’t been busy. The flood gates will open once I find some time to document what I’ve been working on. After a mad dash to finish the first of four plant stands before Christmas (a story for another day), I’m turning my attention back to the Irish Stick Chair.
So far, the stock prep has been a comedy of errors. To refresh everyone’s memory, here’s where things stood in my first post four months ago:
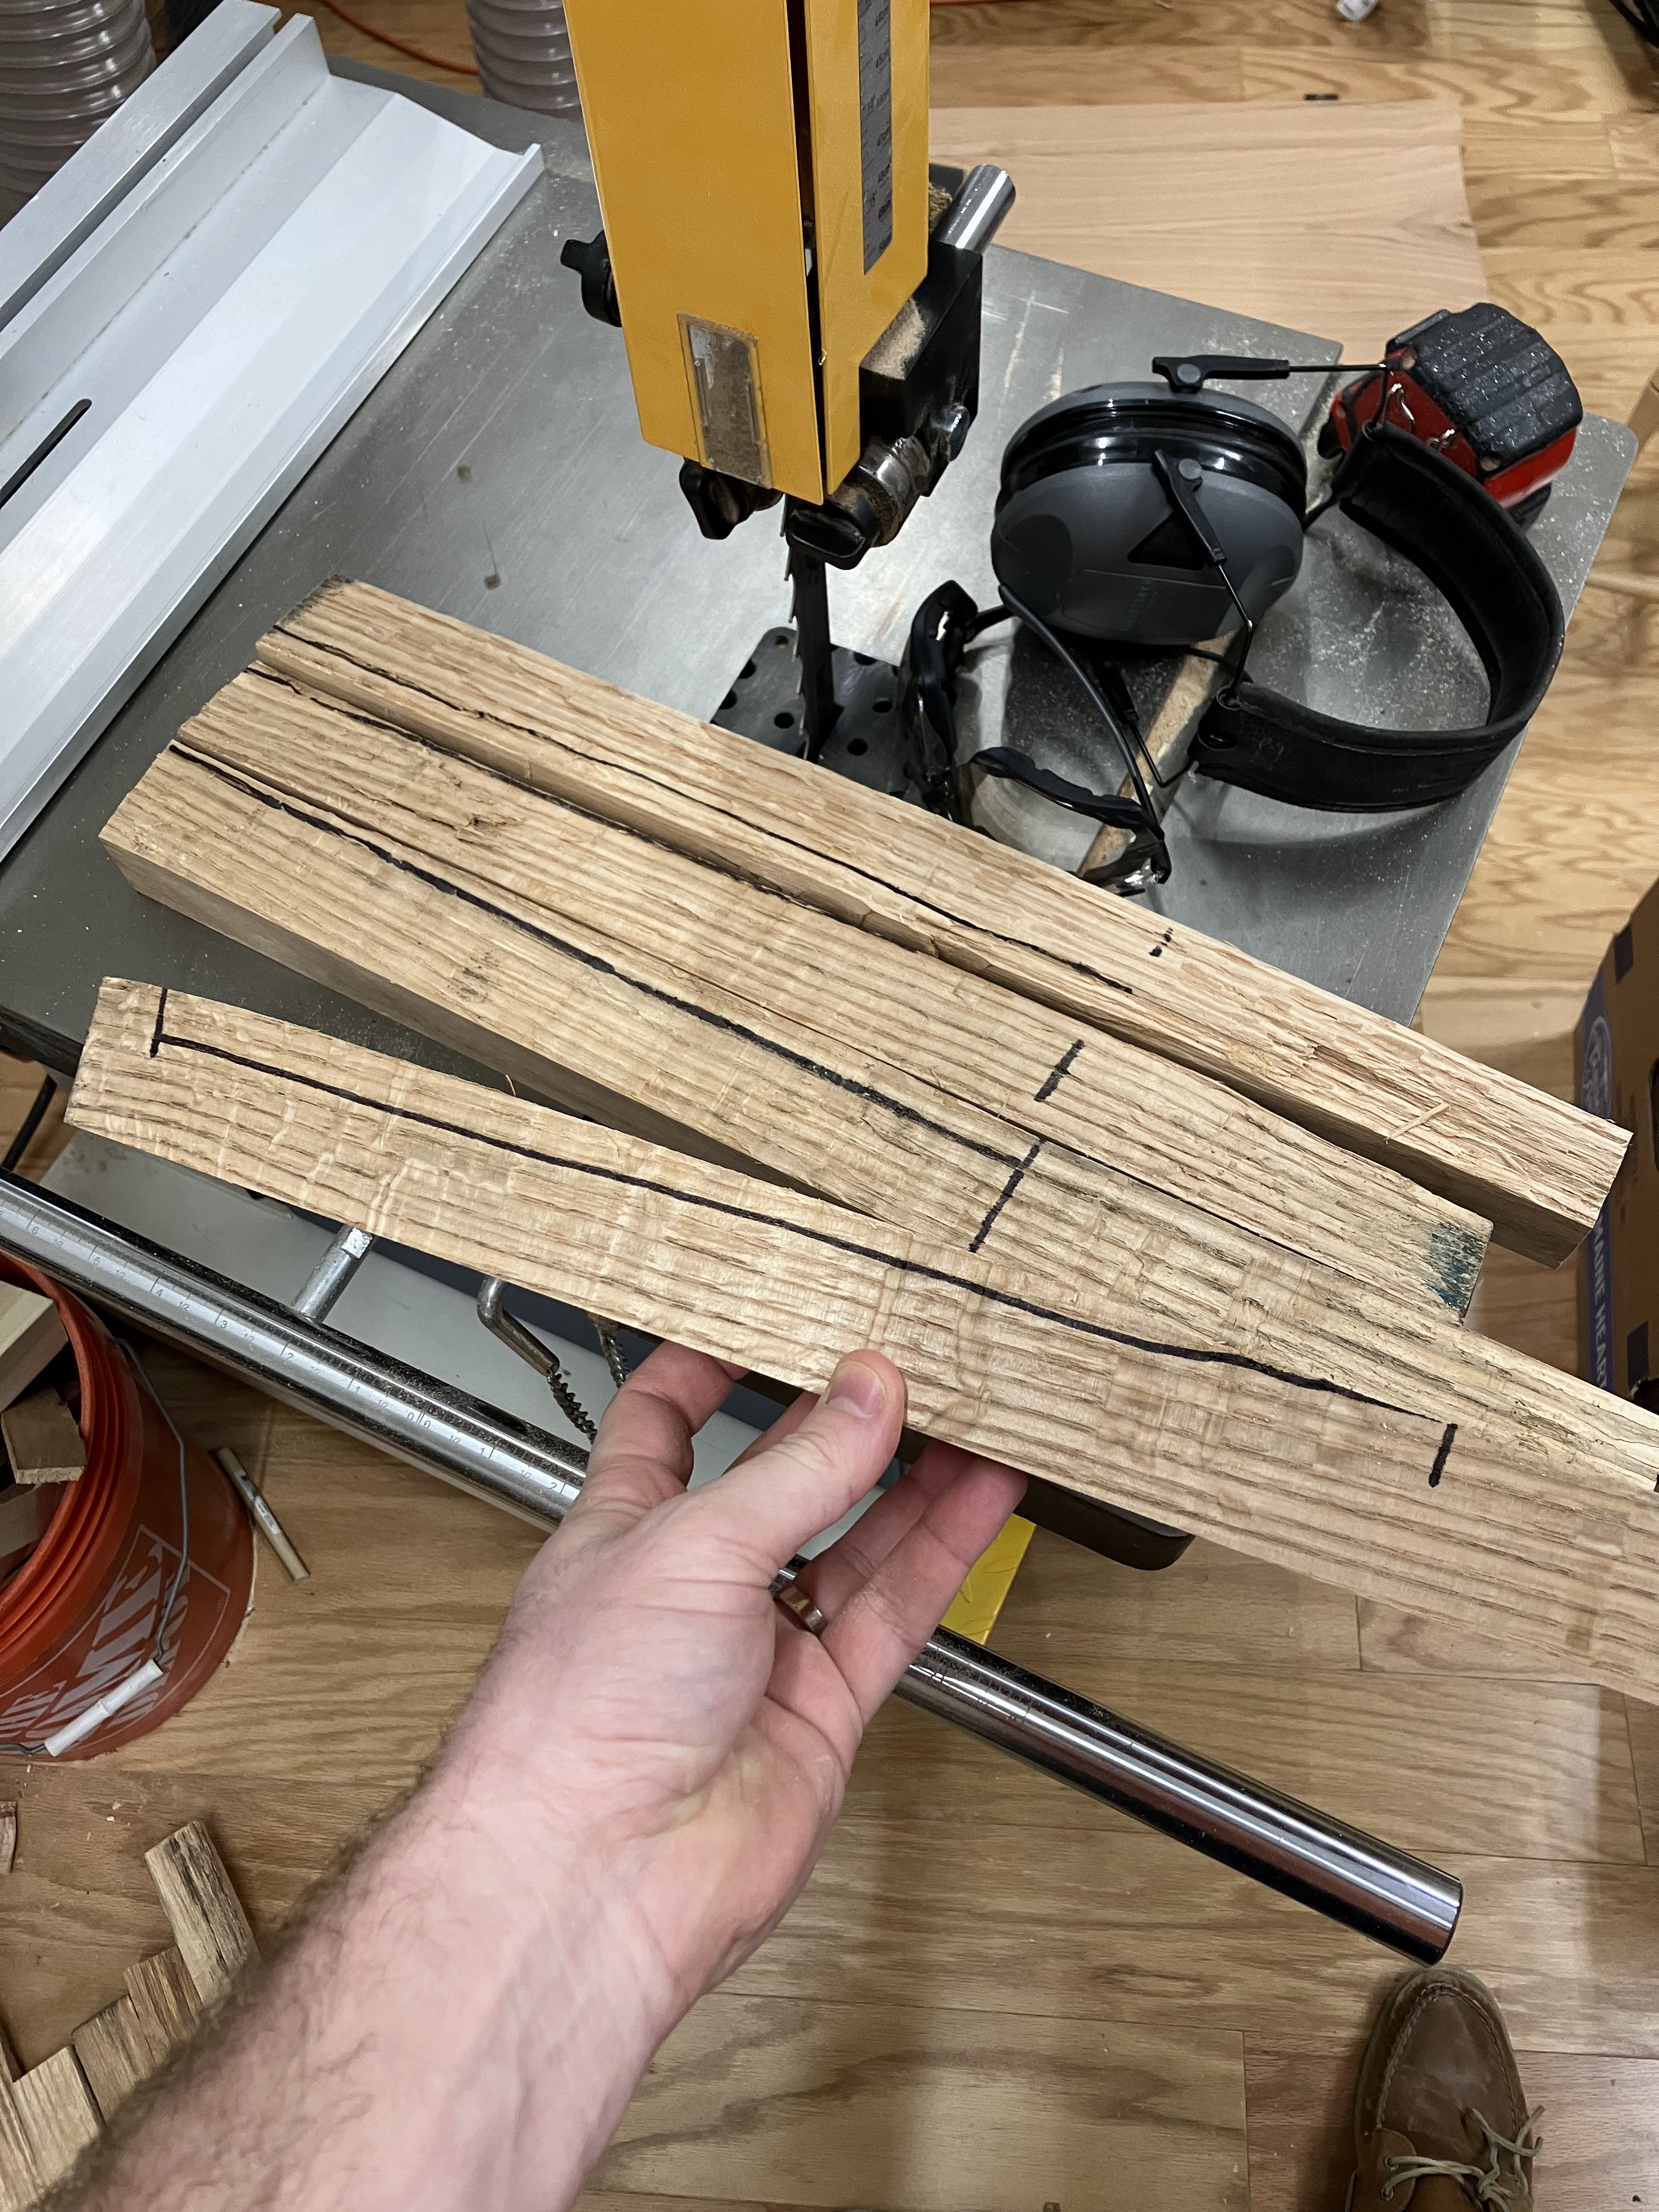
I couldn’t contain my excitement, so I split up the log right when I got home. As I’ve since learned, this was a mistake. Freshly split lumber works beautifully with a drawknife, so I hear, but the wood doesn’t maintain that characteristic for long. I missed the window so my drawknife will have to remain on the wall for now.
Having missed the window to dress the stock with a drawknife, I went ahead and roughly dimensioned it on the bandsaw. Now, four months and one Galbert Drawsharp later, I’ve decided to take my much sharper drawknife off the wall anyway. The problem, other than the increased difficulty of working with dry wood, is that when I roughly dimensioned the parts on the bandsaw, I didn’t pay much attention to the grain. Sigh…
Like most problems, this one can be solved but the cost is a lower yield on the stock that I have. I should still have plenty to complete one chair, but my dream of building a set has gone out the window. At the end of the day, this isn’t a huge loss. I’ll find a new log for the next chair and I’m sure the process will be much more fun than what I’m about to go through.
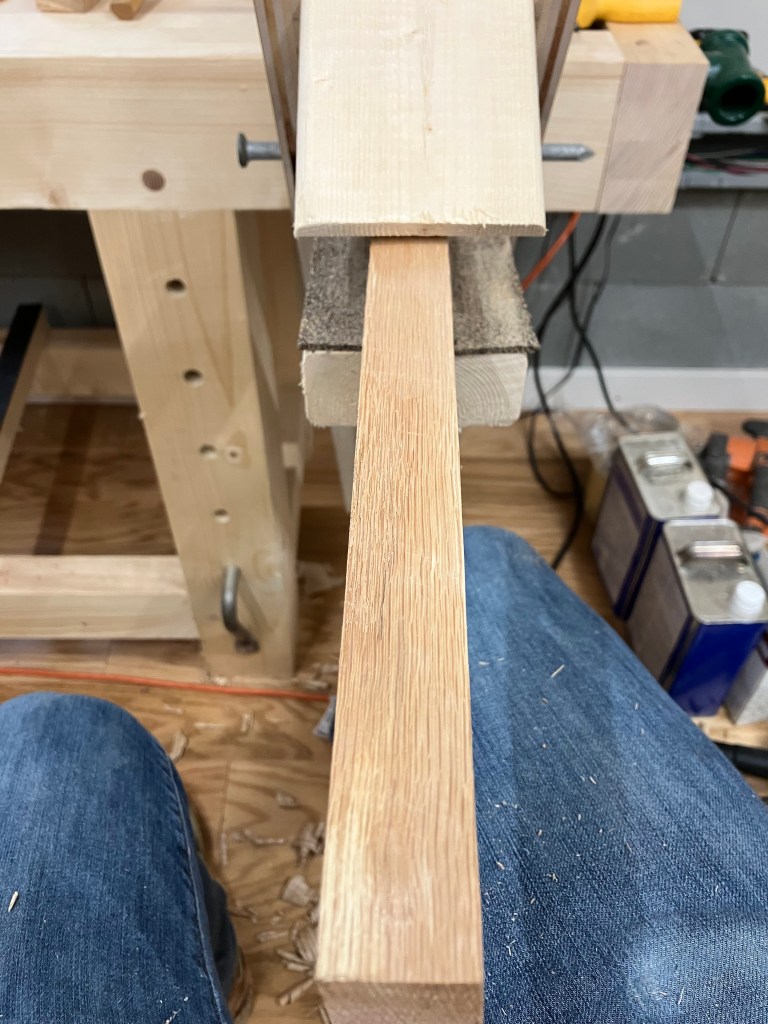
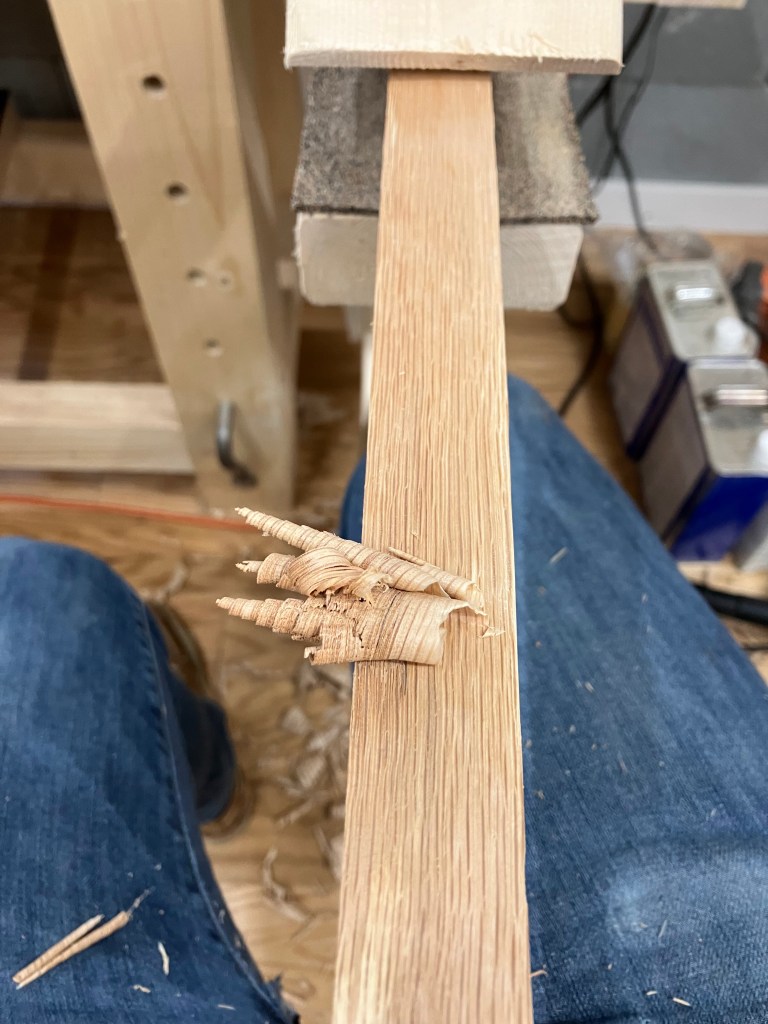
My goal was to re-establish two faces parallel to the grain, and then use the bandsaw to rip the parts to the final dimension. This isn’t particularly easy work with the drawknife, so I’m fine with cheating a little. I found that it was much easier to work the radial plane (pictured) than the tangential plane. Thankfully, it was rather easy to see the orientation of the tangential plane so I could use the bandsaw to remove most of the excess stock.
Using a drawknife effectively requires some variant of a shave horse. I’m not ready to commit to a standalone shave horse yet and, even if I was, I’m not sure I have the room for one. Instead, I followed these plans for a benchtop “shave pony.”
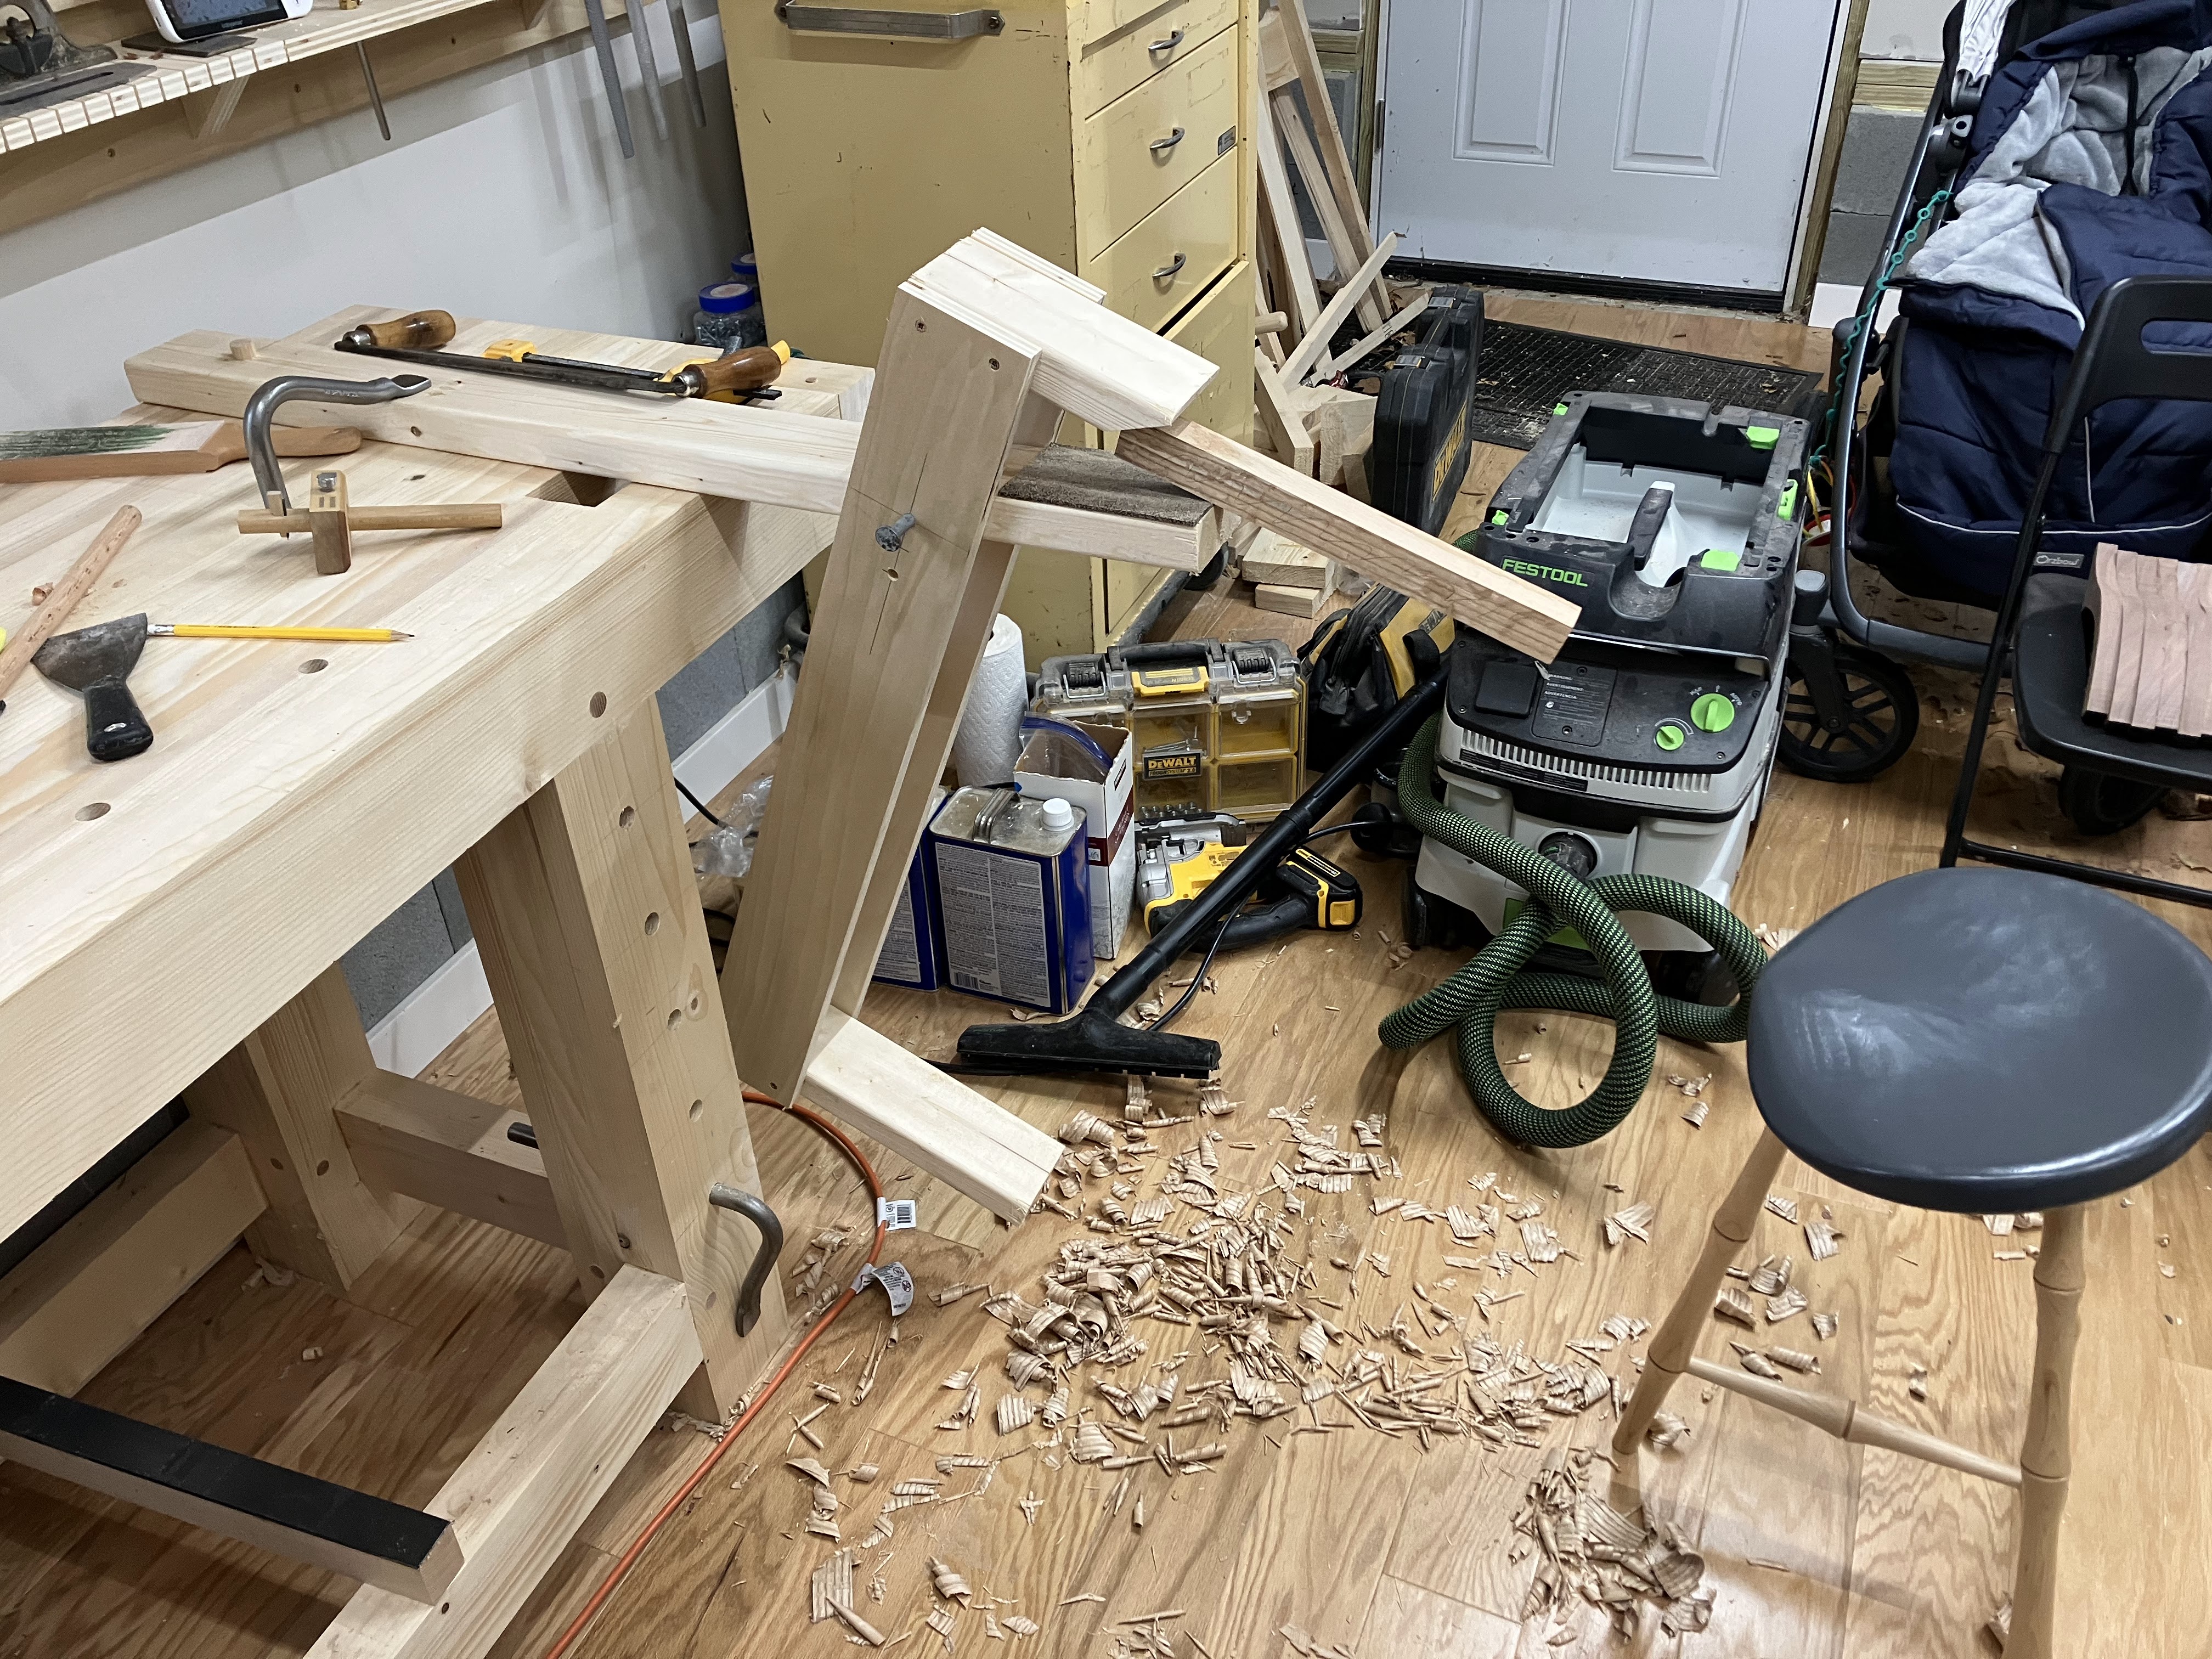
It took about a half an hour to fashion out of scraps I had lying around and, so far, it works perfectly. Anchored to the bench with a dowel and a holdfast, they may as well be one.
There’s not much to show from the shaving process, but I hope the pictures below help illustrate what you’re looking for on the tangential plane. In the picture on the left, about halfway up the stick, you can see an area that is slightly discolored. The discolored area is a different group of fibers. When I shave away that area in picture on the right, we’re left with a consistent surface following along the same fiber line.
The radial plane is less straightforward to read so I’ll save that for the future, when I have a little more experience. Now that the pieces are shaved to size, I’ll rough out the profile before switching over to a spokeshave. This involves knocking off the corners to make an octagon and roughly defining any tapers. This is a very easy operation now that the grain’s running in the right direction.

I currently have the four short sticks completed. I’m going to rough out the legs next before sacrificing any of the thicker stock for the long sticks. As I’ve said before, I rarely work on one project at a time. This is no exception, but currently the stick chair is front of mind. Hopefully I’ll make some real progress before getting sidetracked on something else.

Leave a comment