
After beating my head against a wall for a few weeks, the scorp is back in working order. Historically, I’ve been a buyer of new tools and not a modifier of old ones. I don’t get much shop time, and when I do, I’d rather spend it building furniture. This isn’t truly an exception. Jason Lonon released a well-timed batch of scorps just as I was nearing my breaking point. I happily bought one but quickly realized I probably shouldn’t use it to scoop out a hardwood seat until I was a lot more confident in my ability to resharpen it.
Sharpening has never really been my forte. I have no problem getting a good edge on a straight blade, but I’ve generally avoided anything curved. When you watch or read tutorials online it all seems so easy. Just grab some 1000-grit sandpaper and a strop, and five minutes later, you’re slicing through end grain on pine with ease. Unfortunately, it’s never been that simple for me.
Adding to the difficulty, the scorp required a bit more work. To modify the knife-like cutting edge, I had to grind the edge back significantly and re-establish the bevel. The whole process took a lot of trial and error. The purpose of this post is to document that trial and error, and lay out the steps that worked for me. I’m far from an authority on the subject, so I would caution against taking this as gospel.
The first step was to grind down the edge to a flatter portion of the back (I’m going to call the inside portion the back). I had to do this multiple times, for various reasons, and I found that it was extremely helpful later on to make sure that the edge was all in the same plane. This was easy to do with a coarse diamond stone.

A few quick notes on diamond stones.
- I was always told that lubricant wasn’t necessary for diamond stones. Then, to my surprise, the instructions for the Galbert Drawsharp, which uses a diamond abrasive, state: “Keeping the blade and abrasive lubricated during the honing process is vital to good honing.” I used Lie-Nielsen’s jojoba oil because that’s what I had nearby, and it made a massive difference.
- I use waterstones for most of my sharpening, but when dealing with curved surfaces, I think diamond stones are indispensible. They come in a wide array of shapes and sizes and maintain their shape throughout their life. I’ve found the diamond files particularly useful because you can bring them to the cutting edge, making it easier to sharpen curved surfaces and otherwise unwieldy tools (like lathe tools).
Next I had to re-establish the bevel. At first, I set the angle a bit too shallow, and the edge kept folding over when I tried to hone it. Increasing the angle solved this issue. I didn’t bother trying to figure out the exact angle. If I have to grind it again I’ll just set the wheel back in the middle of the bevel.
One thing that I cannot overstate: DO NOT GRIND ALL THE WAY TO THE EDGE. If you do, you’ll remove the temper on the steel. I made this mistake a few times, and it’s absolutely worth moving slowly to avoid it.
Once I got close to the edge, I switched to a coarse diamond file and refined the bevel further. When the hollow was gone or I felt like I wasn’t making much progress, whichever came first, I went back to the grinder. As with sharpening any other tool, the hollow provides two points of contact to keep the stone flat on the bevel and reduces the surface you have to hone by hand. There’s no downside for going back to the grinder often, just make sure you don’t grind all the way to the edge.

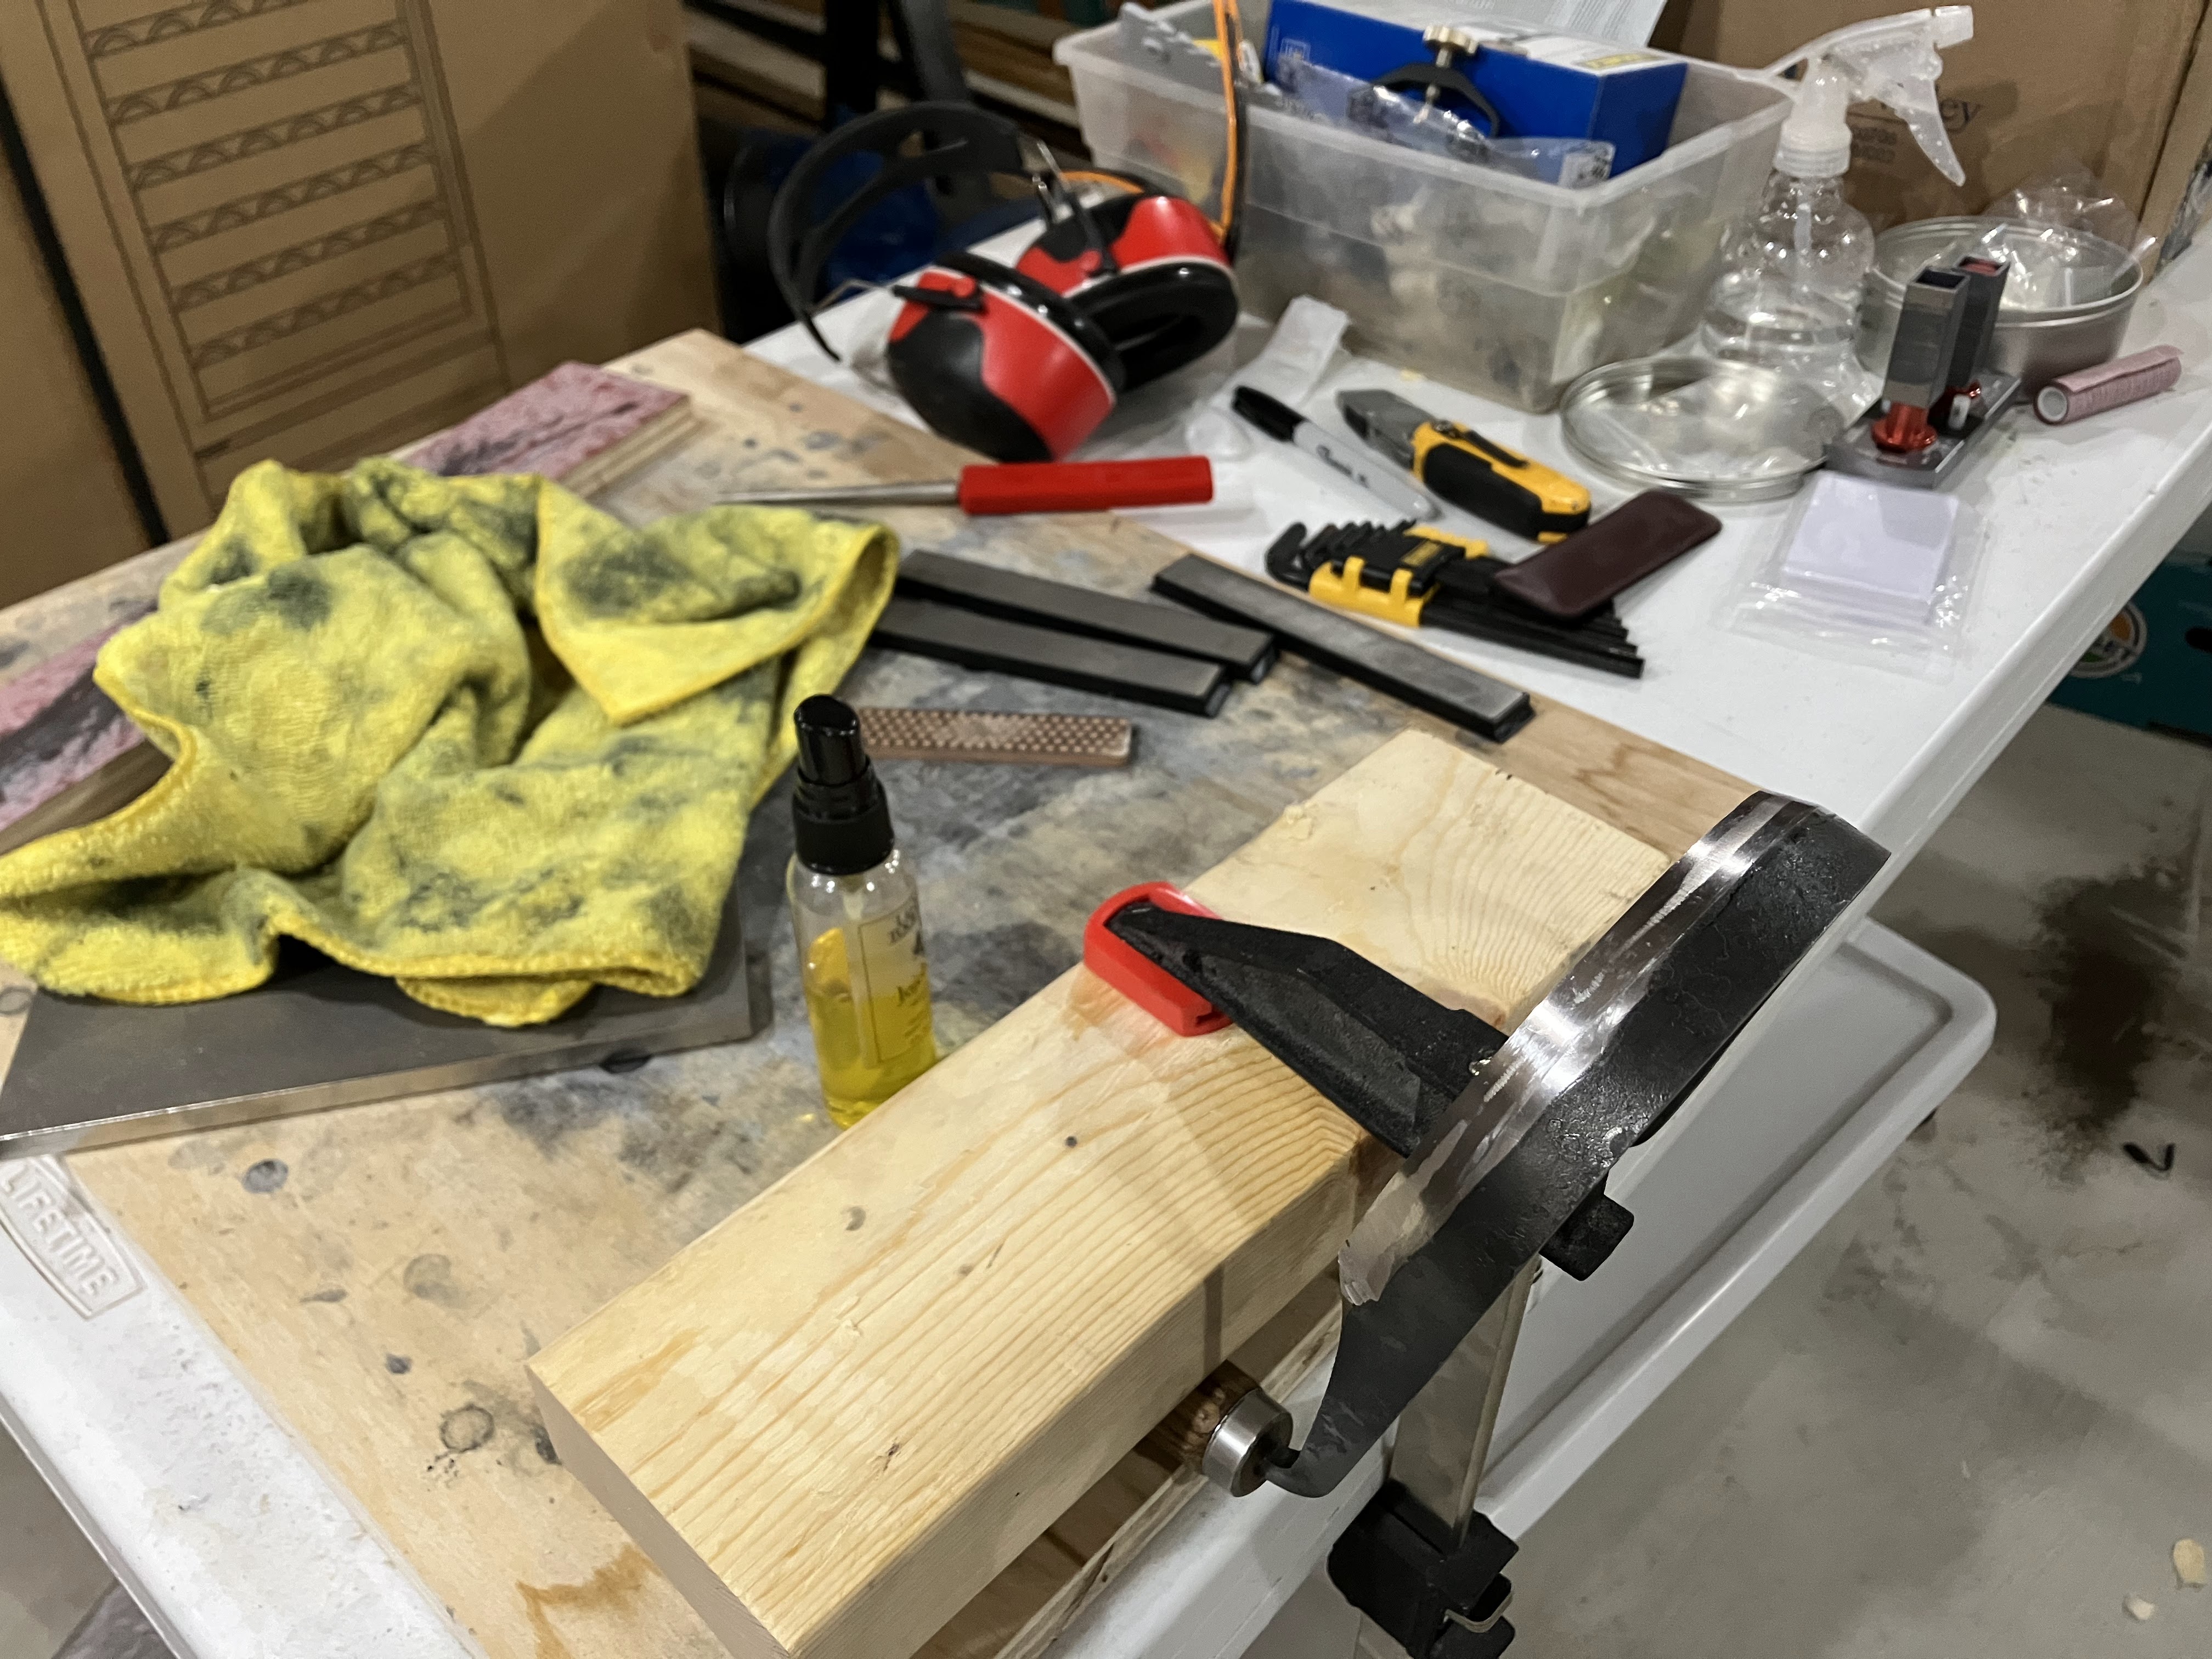
Here’s my setup for honing the bevel. As I mentioned earlier, for a curved surface its much easier to take the stone to the tool than the other way around. I tried a variety of stones, and thought that this set worked well. It’s cheap, the size is perfect, and it comes with all the grits you need (240+400+800+1500). I don’t know how they’ll hold up over time, but I doubt I’ll use them often. I also used a DMT Diamond Honing Cone, that I originally bought for turning tools, to hone the back in between grits.
Two pieces of advice here:
- If you’re not 100% sure you feel a burr, don’t move on to the next grit. Odds are, you’re tricking yourself because sharpening isn’t fun, and you just want to be done with it. Moving to higher grits too soon is wasted effort.
- The burr should get smaller and weaker with each successive grit. I found that the lower grits left a really large burr and I had to fold it over a few times, alternating between honing the back and the bevel, with each successively grit to shrink it.
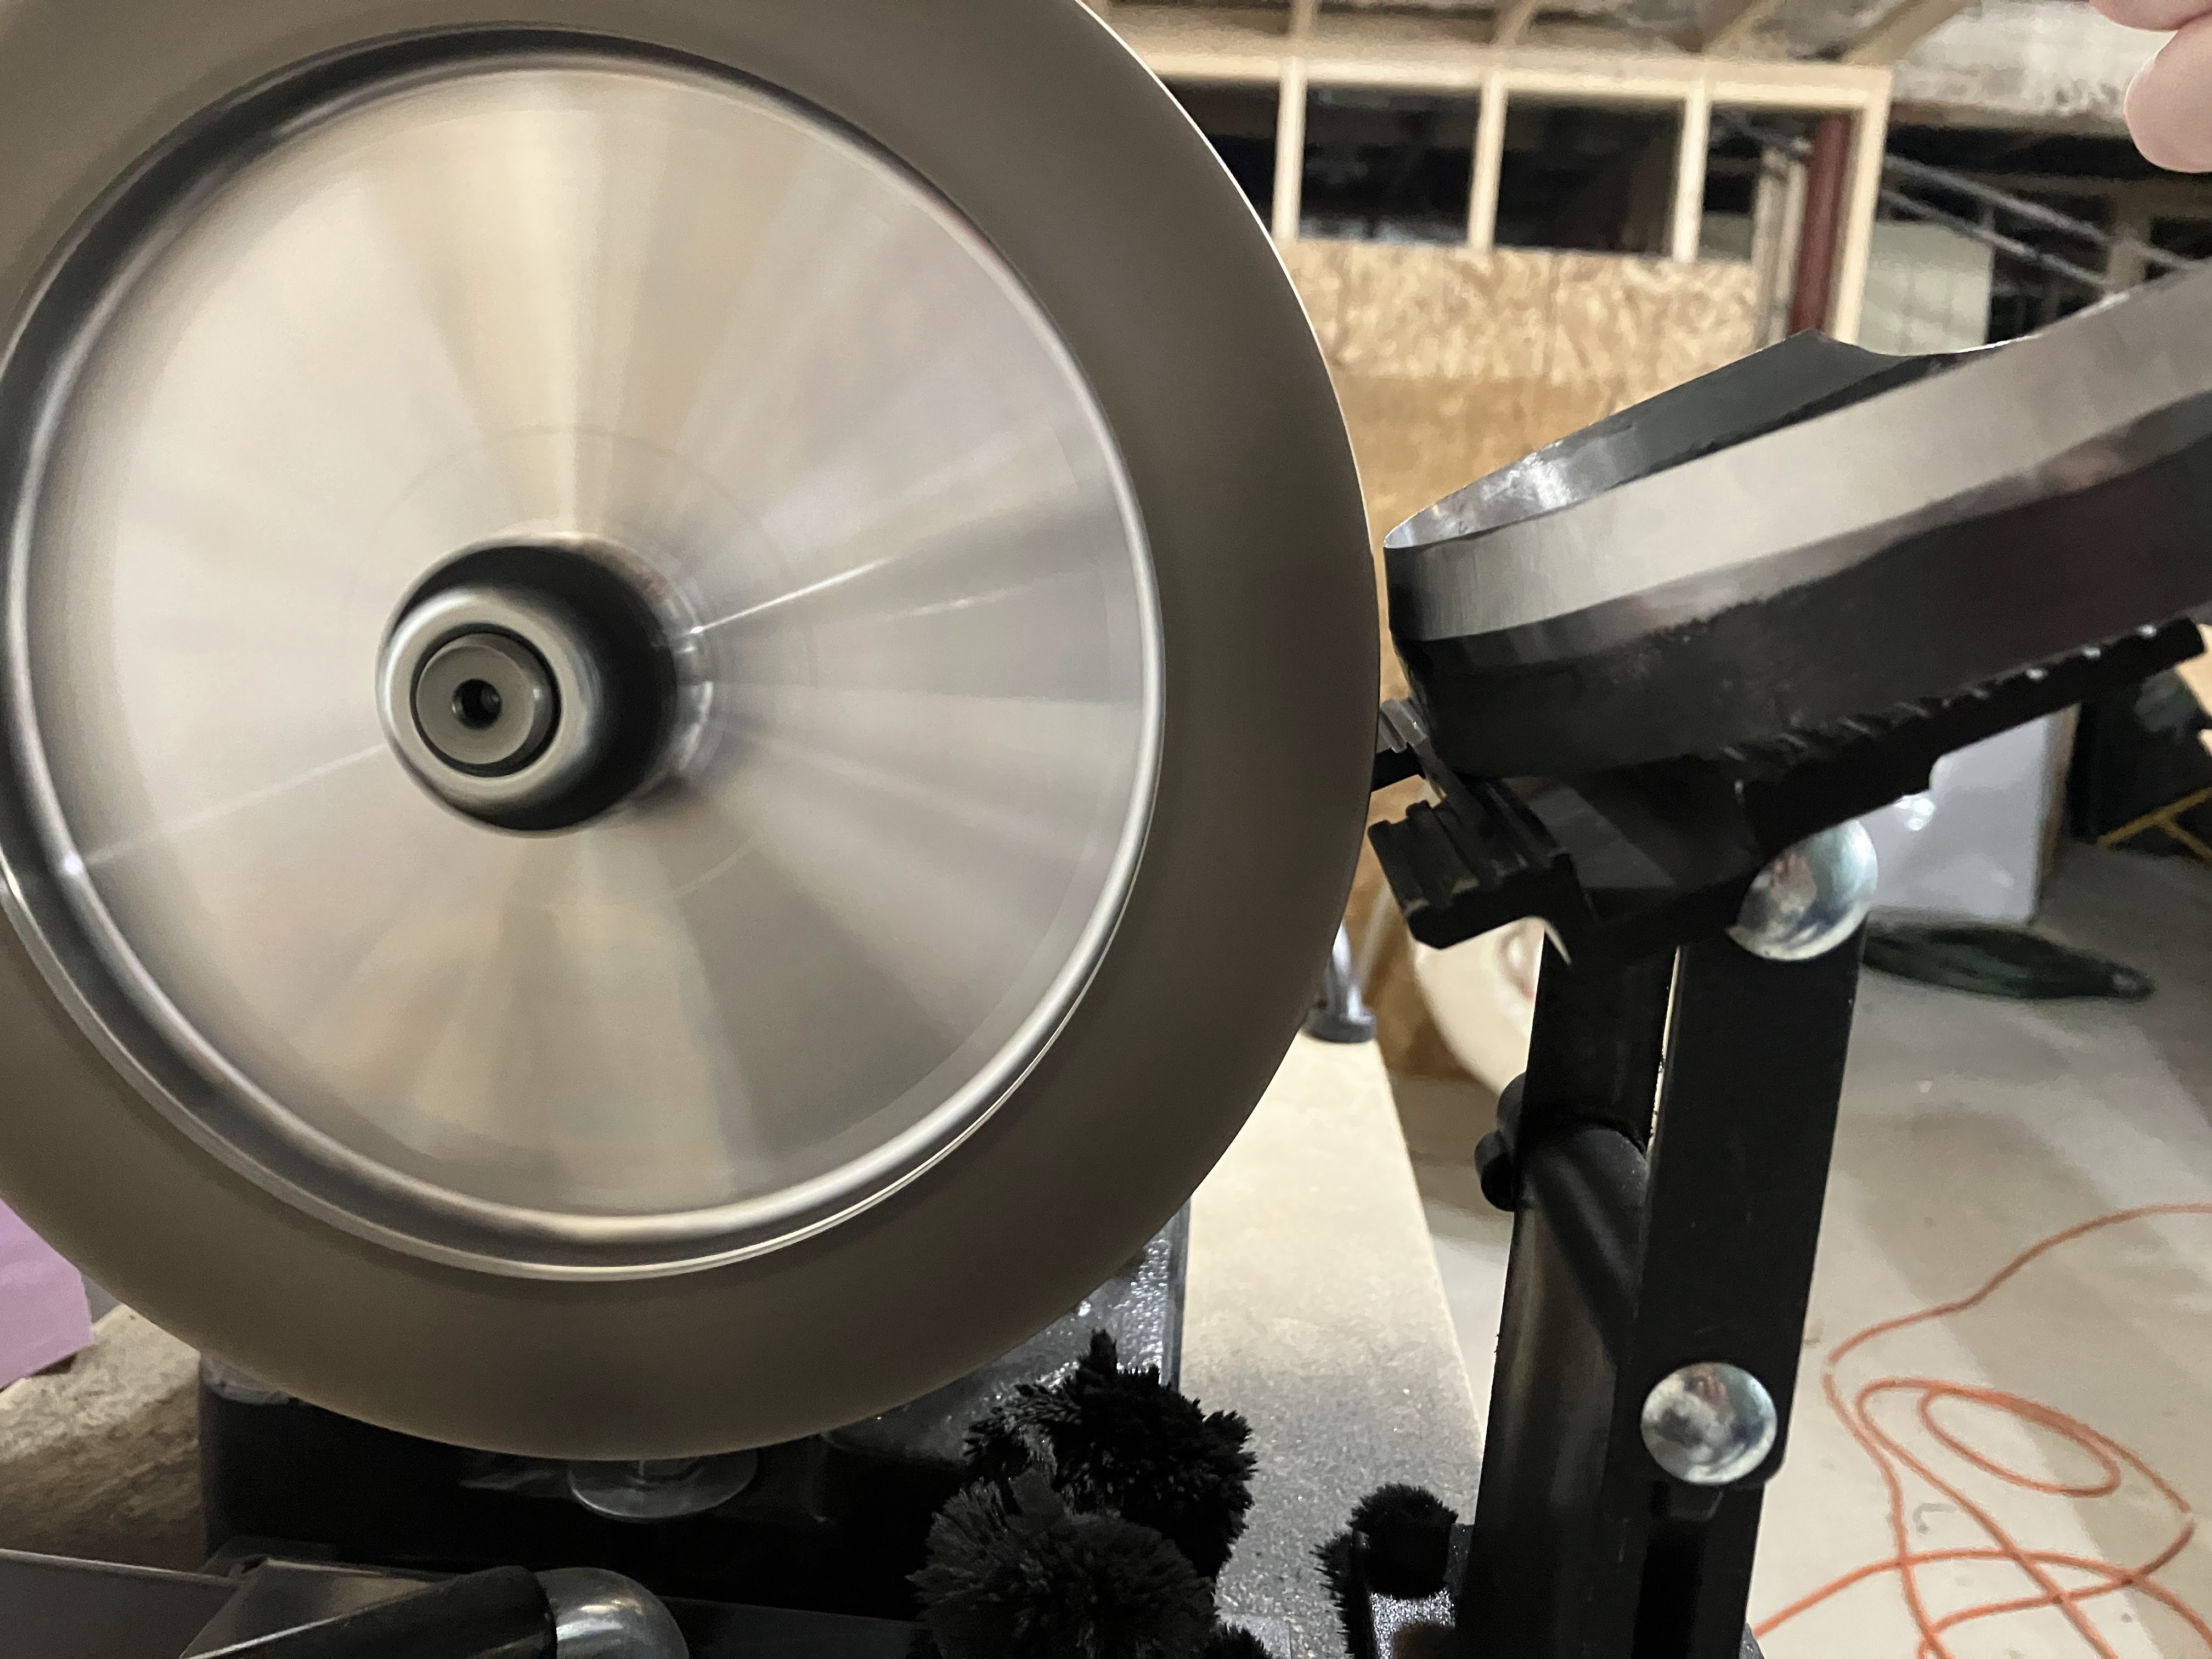
Once I worked through all the grits and could easily knock the burr off, I moved on to polishing. To polish the bevel, I used a medium felt wheel charged with honing compound. This likely rounded over the edge of the bevel slightly, but that’s okay at this point. To polish the back, I used a maple dowel charged with diamond paste. I alternated back and forth, between the felt wheel and the dowel, until the edge was cutting the way I wanted it to.

And there you have it. Hopefully, I won’t have to sharpen either of my scorps anytime soon, but it’s good to know that I can if needed. Like other curved carving tools, scorps are usually kept in working order by frequent honing with a strop. In the picture below, you can see the strop on the left, along with a dowel with honing compound on the right that I use for the back.
There may have been a better way to do this, but in the end, it worked and I learned a lot. If you have a tool you’ve struggled to sharpen, I definitely recommend finding a cheap version and just going for it. Sometimes, banging your head against a wall for a couple of weeks really is the best way to learn.

Leave a comment